
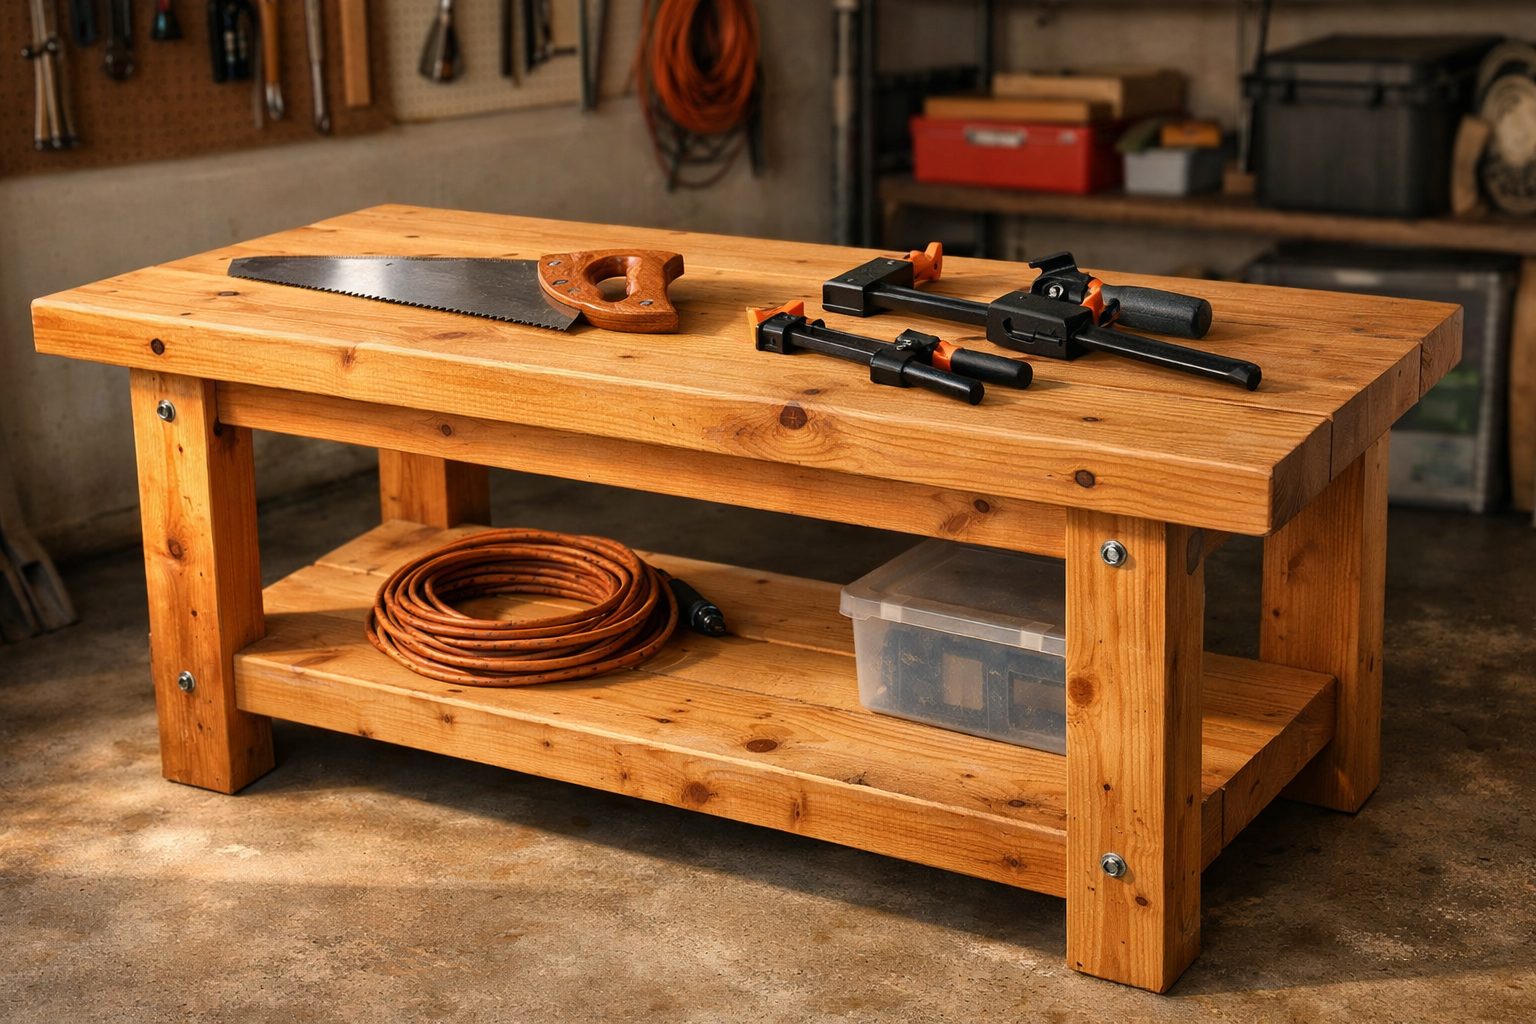
A solid workbench is the foundation of any home workshop and a perfect first project. Here are simple workbench plans for a sturdy bench made from 2x4s and plywood.
- Key takeaways:
- A 2×4 and plywood workbench is affordable, sturdy, and beginner-friendly.
- Customize the height, width, and length to fit your space and comfort.
- Careful measuring, squaring, and fastening are the keys to a stable result.
- Safety precautions are essential: always wear eye protection and use clamps.
- Many upgrades can add storage and function as your skills grow.
Choose the size
- Height: about wrist height when standing with arms by your sides, typically 34 to 38 in.
- Depth: 24 in suits most spaces.
- Length: 48 to 72 in, depending on space.
How to select the right size for your workbench
The ideal workbench size depends on your workspace, the projects you plan to tackle, and your height. Most people find that a bench 34 to 38 inches tall is comfortable for standing work. The depth (front to back) of 24 inches is enough for most home projects without making the bench too bulky. Length can vary: 4 feet (48 inches) fits small spaces, while 5 to 6 feet (60 to 72 inches) gives you more room for tools and materials.
Tip: Mark out your intended bench size on the floor with masking tape to visualize how it fits in your space before you cut any wood.
Materials (for a 60 x 24 in bench)
- About eight 8-ft 2x4s
- One sheet of 3/4 in plywood for the top and lower shelf
- 2 1/2 in and 1 1/4 in construction screws
- Wood glue
Material checklist
- 2×4 lumber: Choose straight, dry boards. Avoid warped or twisted pieces, as they make assembly difficult and affect the bench’s stability.
- Plywood: 3/4 inch thick is best for strength. One 4×8 foot sheet is enough for both the top and the lower shelf.
- Screws: 2 1/2 inch screws are for framing, 1 1/4 inch for attaching plywood. Use construction or deck screws for strength.
- Wood glue: Adds extra strength to all joints, especially where screws alone might loosen over time.
Tools you’ll need
- Circular saw or miter saw (for cutting 2x4s and plywood)
- Drill/driver with bits
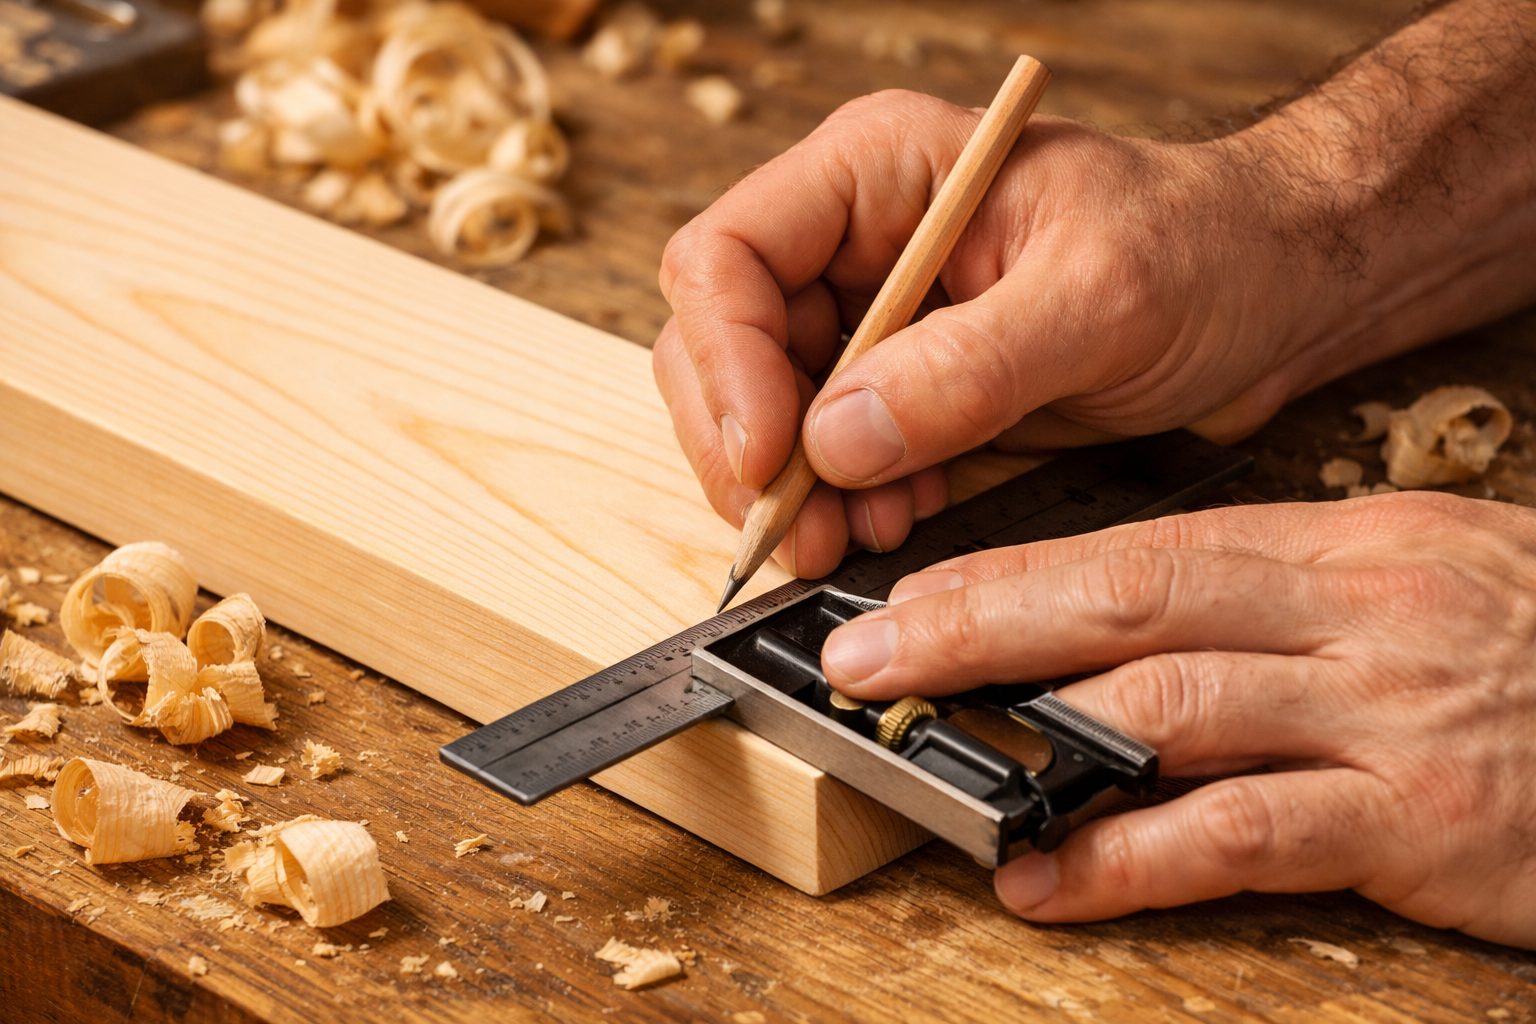
- Measuring tape and pencil
- Carpenter’s square or speed square
- Clamps (to hold boards while cutting or assembling)
- Sander or sandpaper (for smoothing edges)
- Safety glasses and hearing protection
Step-by-step
- Build two rectangular frames (top and lower shelf) from 2x4s, 60 x 24 in outside dimensions, with a cross piece in the middle.
- Cut four legs to your chosen height minus the top thickness.
- Attach the legs inside the corners of the top frame with glue and screws, checking each is square.
- Fit the lower frame about 6 to 8 in off the floor for a shelf and extra rigidity.
- Add the plywood top and shelf, screwing every 8 in or so.
- Check for wobble and add diagonal bracing if needed.
- Finish the top with a coat of oil or polyurethane, and ease sharp edges with sandpaper.
Step-by-step guide with practical tips
-
Build two rectangular frames:
- Cut four 2x4s to 60 inches (for the long sides) and four to 21 inches (for the short sides, to make a 24-inch wide frame when using 1.5 inch thick 2x4s).
- Lay out the rectangles on a flat surface. Use a carpenter’s square to check corners.
- Glue and screw the corners together. Add a center crosspiece to each frame for extra support.
- Common mistake: Not checking for square. Measure diagonally corner to corner; both measurements should match.
-
Cut four legs:
- Decide on your final bench height (for example, 36 inches).
- Subtract the thickness of your plywood top (3/4 inch) and the top frame (3 1/2 inches for a 2×4 on edge), so cut each leg to 31 3/4 inches for a 36 inch finished height.
- Tip: Cut all four legs at once for consistency.
-
Attach the legs:
- Stand the top frame upside down. Position a leg inside each corner.
- Apply wood glue and screw through the frame into each leg with 2 1/2 inch screws. Use two screws per joint for strength.
- Check each leg is square with a carpenter’s square before tightening screws.
- Common mistake: Legs not flush with the top frame, causing wobble. Clamp in place if needed.
-
Fit the lower frame:
- Decide shelf height (6 to 8 inches off the floor is typical).
- Mark this height on each leg, then attach the lower frame using glue and screws as before.
- Check for square and level as you go.
-
Add the plywood top and shelf:
- Cut plywood to size: 60 x 24 inches for both top and shelf.
- Lay plywood on the frames and screw down every 8 inches around the edges and across the middle support.
- Use 1 1/4 inch screws to avoid poking through the frame.
- Tip: Pre-drill holes to prevent splitting the plywood.
-
Check for wobble and add diagonal bracing if needed:
- Test the bench by rocking it side to side and front to back.
- If it feels loose, add diagonal braces (2x4s cut at an angle) between the legs and frames.
- Bracing is especially important for longer benches or if you plan to use heavy tools.
-
Finish the top and edges:
- Sand all edges and corners to remove splinters and sharpness.
- Apply a coat of oil, polyurethane, or water-based finish to protect the top and make it easier to clean.
- Let finish dry thoroughly before use.
Common mistakes to avoid
- Not checking for square at each step, leading to a wobbly bench.
- Using warped 2x4s, which can twist the frame.
- Forgetting to pre-drill screw holes, which can split wood.
- Placing screws too close to the edge of plywood, causing it to chip.
- Skipping bracing on longer benches.

The Weekend Woodworker Starter Pack
Build your first projects with confidence. Inside you get:
- The essential tool list (and what to skip)
- 5 beginner projects with cut lists
- A safety checklist for your workspace
100% free. No spam, unsubscribe anytime. Privacy policy.
Upgrades
- A replaceable hardboard top
- A vise on one corner
- A pegboard or French cleat wall behind
- Locking casters if you need to move it
Upgrade ideas explained
- Replaceable hardboard top: Attach a thin sheet of hardboard over the plywood with small screws. Replace it when worn out to keep your bench looking new.
- Vise: A woodworking vise on one corner makes clamping boards easy. Bolt it through the top and frame for strength.
- Pegboard or French cleat wall: Mount behind your bench to organize tools within easy reach.
- Locking casters: Add heavy-duty wheels with brakes to make your bench mobile. Attach to the bottoms of the legs, making sure the bench remains stable when locked.
Workbench comparison: fixed vs. mobile
| Feature | Fixed Bench | Mobile Bench (with casters) |
|---|---|---|
| Stability | Maximum | Good (if casters lock securely) |
| Best for | Heavy work, stationary shops | Small or multi-use spaces |
| Complexity | Simple | Requires careful caster installation |
Safety
Wear safety glasses, clamp boards before cutting and keep blades sharp. See starting woodworking at home.
- Always wear eye and hearing protection when cutting or drilling.
- Clamp boards securely before sawing to prevent slipping.
- Keep hands clear of blades and bits at all times.
- Make sure your workspace is well-lit and free from clutter.
- Unplug power tools when changing blades or bits.
- Clean up sawdust and scraps promptly to prevent slips and fire hazards.
More plans
Once your bench is built, you will want more projects. Large plan libraries like TedsWoodworking offer many ideas; see our TedsWoodworking review. For setting up a small shop, see Ultimate Small Shop.

Frequently asked questions
How much weight can a 2×4 workbench hold?
A well-built 2×4 and plywood workbench can easily support several hundred pounds, especially if you use a center support and add diagonal bracing. For most home projects, this strength is more than enough. If you plan to use heavy machinery or store large items, reinforce the frames and check that your screws and joints are tight.
What type of plywood is best for a workbench top?
3/4 inch thick plywood is the standard choice. Choose cabinet-grade or sanded plywood for a smoother surface, or standard construction plywood for a budget option. Avoid particle board or MDF for the top, as they are less durable and can sag or chip over time.
Should I bolt my workbench to the wall?
Bolting your bench to the wall is optional but adds stability, especially if you plan to use heavy tools or do a lot of hammering. Use lag screws and washers into wall studs for a secure hold. If you want your bench to be mobile, skip this step and add locking casters instead.
How do I make my workbench perfectly level?
Use a long level to check the bench after assembly. If the floor is uneven, you can add shims under the legs or install adjustable leveling feet. Always check for level before attaching the top, as a sloped bench can make projects difficult and unsafe.
How can I prevent my workbench from wobbling?
Wobble is usually caused by out-of-square frames, uneven legs, or insufficient bracing. Make sure all frames are square and legs are cut to the same length. Add diagonal bracing between legs and frames if needed. Tighten all screws and re-check regularly.
Is it safe to install a vise on a 2×4 workbench?
Yes, as long as you bolt it through both the plywood top and the 2×4 frame beneath. Place the vise near a corner for maximum support. Use large washers and bolts, not just screws, to secure it firmly.
The bottom line
A 2×4 and plywood workbench is cheap, strong and achievable in a weekend. Size it to your height, keep it square and add storage as you go.
Want this as a handy printable?
The Weekend Woodworker Starter Pack
Build your first projects with confidence. Inside you get:
- The essential tool list (and what to skip)
- 5 beginner projects with cut lists
- A safety checklist for your workspace
100% free. No spam, unsubscribe anytime. Privacy policy.
Disclosure: links marked as sponsored are affiliate links. If you buy through them we may earn a commission at no extra cost to you.
Sources and further reading
This guide is for general information only and is not a substitute for professional advice. See our editorial policy.
Products mentioned in this guide
Affiliate links. Results vary. This is not medical advice.