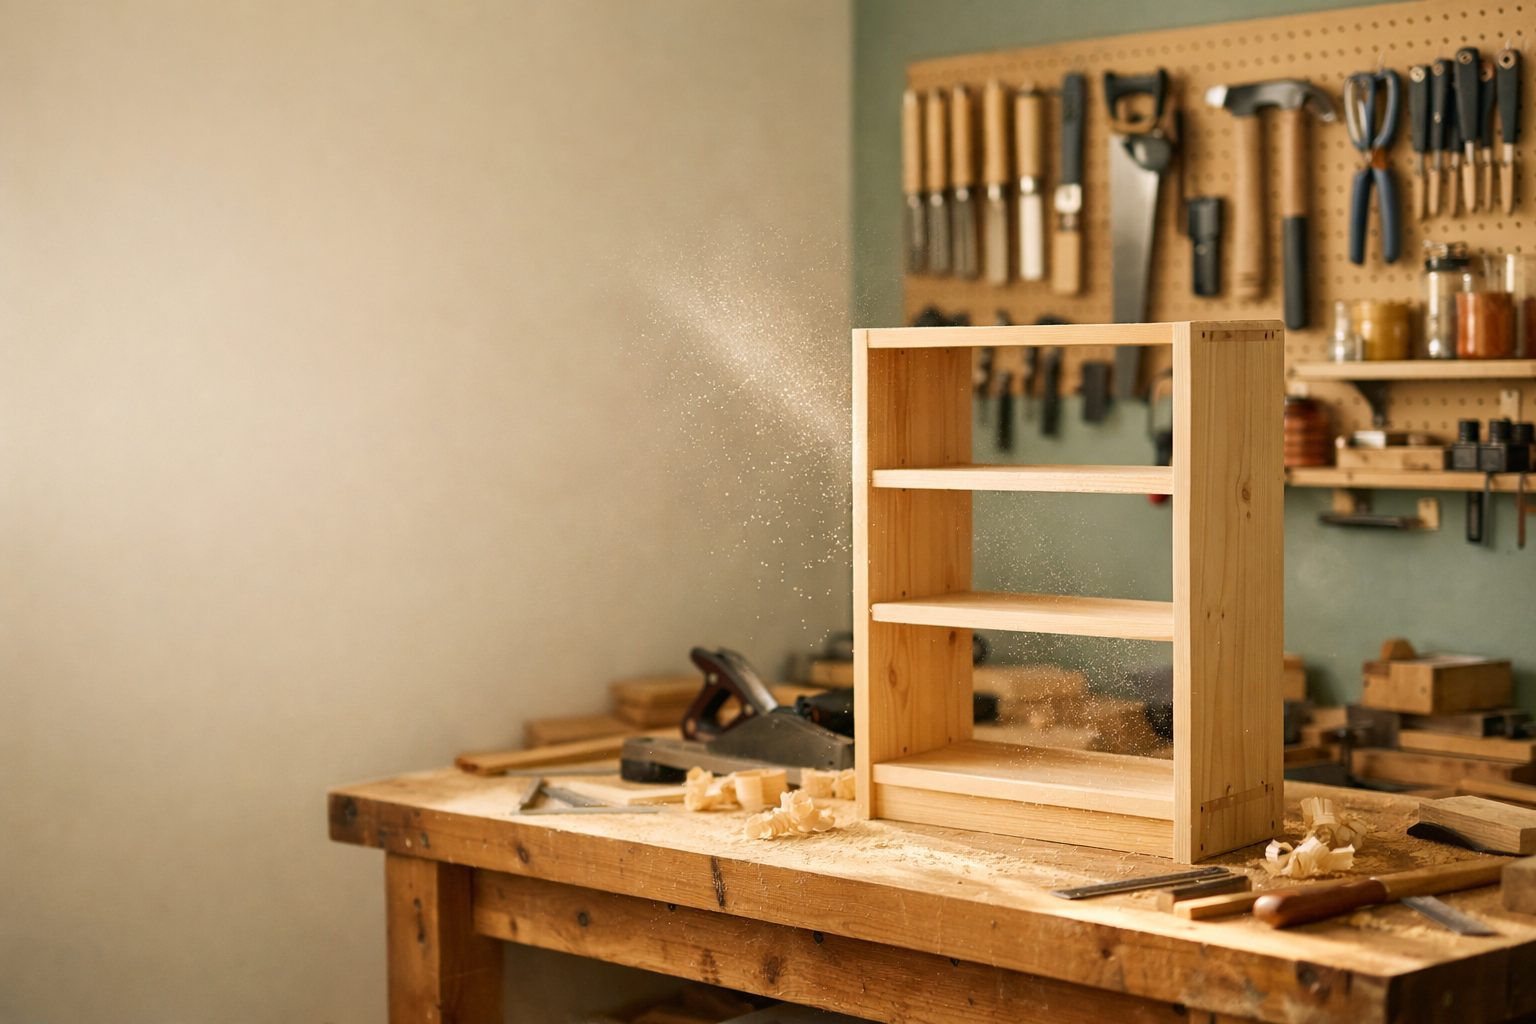
There is something deeply satisfying about building a shelf, a planter box or a little side table with your own hands. Woodworking is also one of the most popular hobbies people pick up later in life, and you do not need a huge garage or thousands of dollars of tools to start.
This guide covers what you actually need and how to get going.
- Key takeaways:
- You can start woodworking with a small set of basic tools and a modest workspace.
- Safety is crucial: always use protective gear and follow tool instructions.
- Begin with simple projects to build skills and confidence.
- Choose affordable, easy-to-work woods before moving to more expensive materials.
- Good plans and organization save time, money and frustration.
Start small: the core tool kit
Resist buying everything at once. A handful of tools will carry you through dozens of projects:
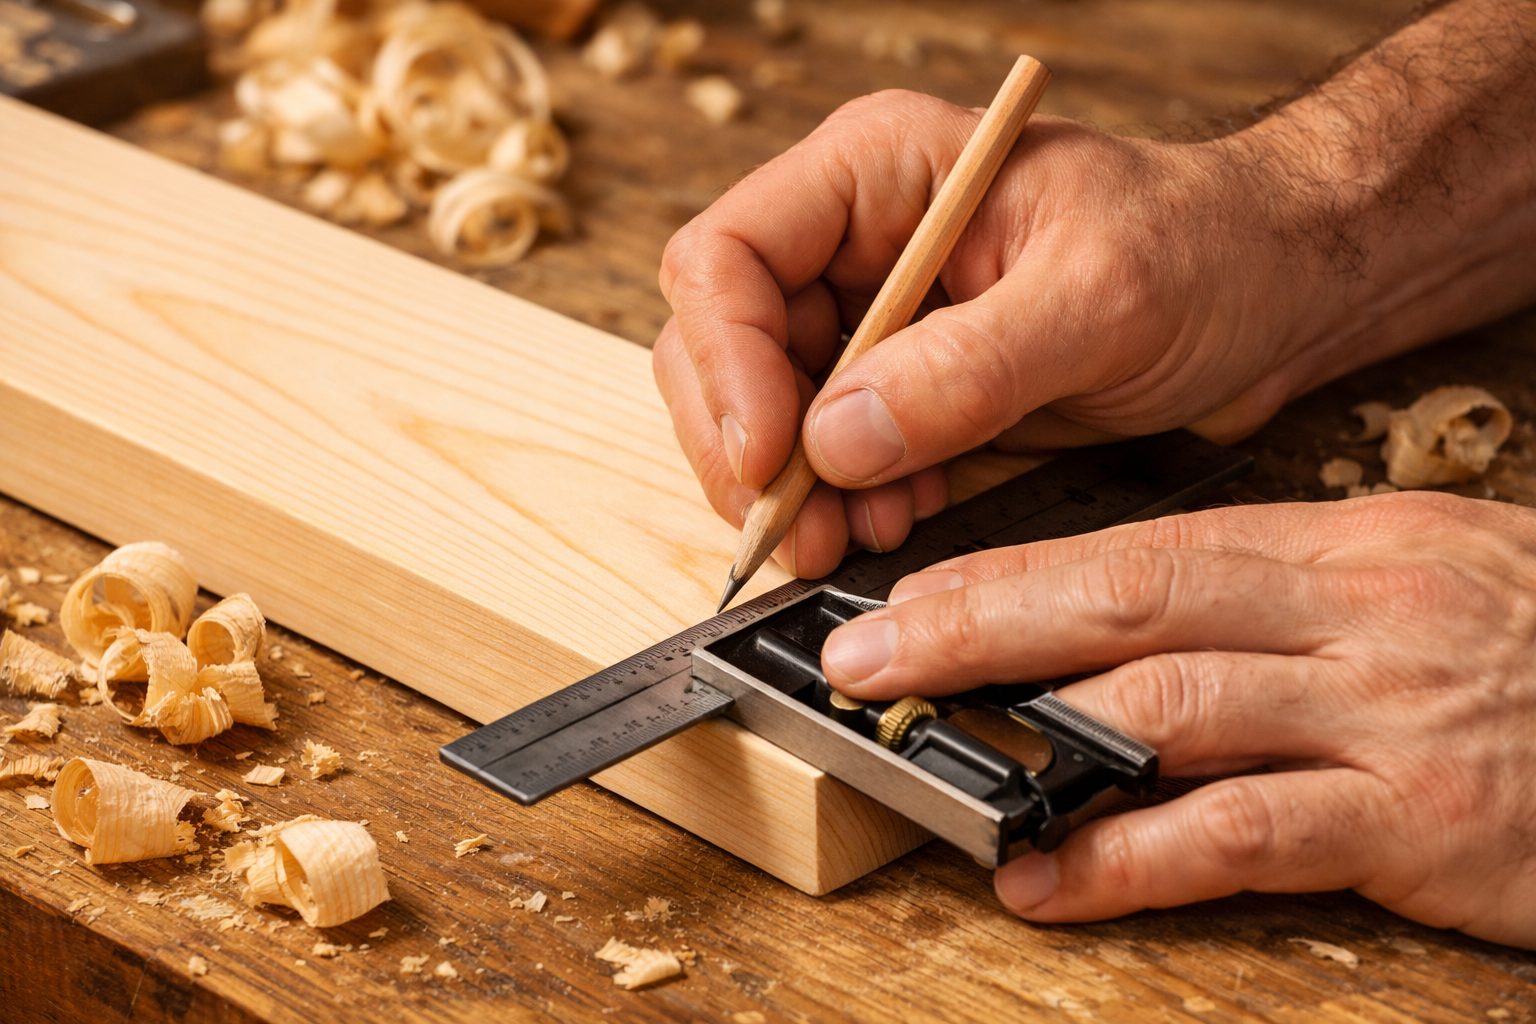
- Tape measure, combination square and pencil. Accurate measuring and marking is half of woodworking.
- A good hand saw (a Japanese pull saw is easy for beginners) or a circular saw for straight cuts in sheet goods.
- A cordless drill/driver with a set of bits.
- Clamps. You can never have too many; start with four.
- Sandpaper or a random orbit sander in 80, 120 and 180 grit.
- Wood glue and a box of screws.
Add a jigsaw, a pocket-hole jig and a few chisels as your projects grow.
Why these tools?
- Measuring and marking tools ensure your cuts and joints fit together precisely, preventing wasted wood and frustration.
- Saws are essential for cutting boards to length and width. A Japanese pull saw is lightweight, easy to control, and makes clean cuts. A circular saw is faster for larger pieces but requires more care and setup.
- Cordless drill/drivers let you drill holes and drive screws efficiently. They are indispensable for almost every project.
- Clamps hold pieces together while you glue, screw or assemble. Projects come out straighter and safer when you clamp instead of holding by hand.
- Sandpaper or a sander smooths wood surfaces and prepares them for finishing. Using several grits in order results in a better look and feel.
- Wood glue and screws are the backbone of basic joinery. Most beginner projects use these instead of complex joints.
Starter tool checklist
- 12-foot tape measure
- Combination square
- Sharpened pencil
- Japanese pull saw or circular saw
- Cordless drill/driver with assorted bits
- 4+ clamps (bar or trigger style)
- Sandpaper: 80, 120, 180 grit (and optional random orbit sander)
- Wood glue
- Box of wood screws (1.25″ and 2″ sizes cover most needs)
Setting up a small workshop
- A sturdy workbench. Building one is a classic first project. It does not need to be fancy, just flat and solid.
- Good light. Bright LED shop lights make accurate work far easier.
- Wall storage. A pegboard or French cleat wall keeps tools visible and the floor clear.
- Dust control. A shop vacuum, plus a dust mask, keeps fine dust out of your lungs and your house.
- Power. Use a proper extension reel rated for your tools and avoid daisy-chaining power strips.
How to make the most of your space
You do not need a full garage to start woodworking. Many beginners work in a half of a garage, a basement corner or even a large shed. The key is to keep the area organized and safe.
- Keep your workbench clear for assembly and cutting; store tools on walls or shelves.
- Use rolling carts or toolboxes if you need to move your setup around.
- Lay down a rubber mat for comfort if you stand for long periods.
- Ventilate the area, especially when sanding or finishing.
Common mistakes to avoid
- Cluttering your workspace with too many tools or materials at once.
- Ignoring dust collection, which can harm your lungs and make clean-up harder.
- Improper lighting, which leads to mistakes and accidents.
- Overloading outlets or using unsafe extension cords.
Safety basics
Wear safety glasses every time, hearing protection with power tools, and a dust mask when sanding. Keep blades sharp (dull tools slip), clamp your work instead of holding it, keep hands well clear of the cutting line and never wear loose sleeves or jewelry near spinning tools. Read the manual for every power tool before using it.
Essential safety habits
- Always unplug power tools before changing blades or bits.
- Check that guards and safety features are in place before using any tool.
- Keep your workspace tidy to avoid tripping hazards.
- Store sharp tools safely, out of reach of children and pets.
- Have a first aid kit nearby.
Never rush through a cut or assembly. Taking your time is safer and leads to better results.
When to seek help
- If you are unsure how to use a tool, ask for help or look up a demonstration from a trusted source.
- In case of any injury involving bleeding, loss of movement or severe pain, seek medical attention right away.
- If you feel dizzy or short of breath while sanding or finishing, stop and get fresh air immediately.
Five great first projects
- A simple box or crate. Teaches measuring, square cuts and joining.
- A wall shelf. Practical and quick, with an introduction to finding studs and leveling.
- A planter box. Great for outdoor-rated wood and finishes.
- A step stool. Introduces angled cuts and stronger joinery.
- A workbench. The project that pays you back on every project after it.
Project tips for beginners
- Read through the entire plan before starting to cut or drill.
- Lay out all your tools and materials before you begin.
- Measure twice and cut once to avoid mistakes.
- Dry-fit pieces together before gluing or screwing them.
- Take breaks to avoid fatigue, which can lead to mistakes or accidents.

The Weekend Woodworker Starter Pack
Build your first projects with confidence. Inside you get:
- The essential tool list (and what to skip)
- 5 beginner projects with cut lists
- A safety checklist for your workspace
100% free. No spam, unsubscribe anytime. Privacy policy.
Choosing wood
Start with affordable softwoods such as pine or whitewood from a home center, and check boards for straightness before buying: sight down the edge like a rifle barrel. Plywood is stable and great for shelves and cabinets. Move to hardwoods like oak, maple or walnut once you are confident.
Understanding wood types
- Softwoods (pine, spruce, fir) are easy to cut and less expensive. They are ideal for learning and for projects that will be painted or used outdoors (with proper finish).
- Plywood is made from thin layers of wood glued together. It is strong, stable and comes in large sheets, making it perfect for cabinets, shelves and boxes.
- Hardwoods (oak, maple, walnut) are more durable and attractive but cost more and can be harder to work with. Save these for when your skills have improved.
Buying tips
- Look for straight, flat boards with minimal knots or cracks.
- Check for warping by sighting down the edge and face of each piece.
- Buy extra wood for practice cuts and mistakes.
- Ask staff for help if you are unsure which wood to choose for your project.
Finishing
Sand progressively from coarse to fine grit, wipe off the dust, then apply a finish. Wipe-on polyurethane or Danish oil is forgiving for beginners. Always test on a scrap piece first.
How to finish your project
- Start sanding with 80 grit to remove rough spots and tool marks.
- Move to 120 grit for smoothing surfaces.
- Finish with 180 grit for a silky feel.
- Wipe off all dust with a damp cloth or tack cloth.
- Apply your chosen finish (wipe-on polyurethane or Danish oil) with a clean rag or brush, following the directions on the can.
- Let it dry fully, then lightly sand with 180 or 220 grit between coats if needed.
- Apply a second coat for extra protection and beauty.
Common finishing mistakes
- Skipping grits or not sanding enough, leading to a rough finish.
- Not removing all dust before finishing, which can cause bumps or cloudiness.
- Applying finish too thickly, which leads to drips or slow drying.
- Not allowing enough drying time between coats.
Where to find good plans
Following clear, measured plans is the fastest way to learn and avoid wasted wood. Free plans online vary a lot in quality. Many hobbyists like having one large, organized collection with cutting lists and diagrams so they are not hunting for a new source every time.
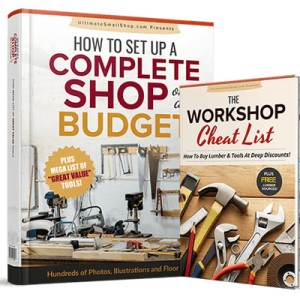
Collections readers ask about include TedsWoodworking (a very large library of project plans), My Shed Plans (if a garden shed is on your list) and Ultimate Small Shop (a guide to setting up a home workshop on a budget). Check what each includes and its refund terms before buying.


What to look for in a plan
- Clear diagrams and step-by-step instructions.
- Accurate measurements and a complete cutting list.
- Material and tool lists to help with shopping.
- Tips for assembly and finishing.
- Photos of the finished project for reference.
Woodworking beginner’s checklist
- Choose a simple project and find a reliable plan.
- Gather your basic tools and materials.
- Set up a safe, well-lit workspace.
- Read through the plan and lay out your steps.
- Wear safety gear and keep your area organized.
- Take your time, double-check measurements, and enjoy the process.
Frequently asked questions
How much does it cost to start woodworking at home?
You can start woodworking for a few hundred dollars or less if you buy basic tools and use affordable wood like pine. Costs increase with more advanced tools or specialty woods, but many projects can be done with a modest investment. Used tools and local lumber can also help you save money.
Do I need a lot of space to start woodworking?
No, you can start in a small area such as a corner of a garage, basement or even a shed. The key is to keep your space organized, well-lit and safe. Rolling carts and wall storage maximize small spaces.
What are the most important safety rules for beginners?
Always wear safety glasses, hearing protection and a dust mask when needed. Read and follow the manual for every tool. Keep blades sharp, clamp your work, and never wear loose clothing or jewelry near moving parts. Keep your workspace tidy to prevent accidents.
How do I know which wood to use for a project?
For most beginner projects, softwoods like pine or whitewood are ideal because they are affordable and easy to work with. Plywood is great for shelves and cabinets. Save hardwoods for when you have more experience, as they are tougher and more expensive.
How do I fix mistakes in a woodworking project?
Most mistakes can be fixed by filling holes with wood filler, sanding rough edges or cutting a new piece. Measure carefully to prevent mistakes, but do not get discouraged if you make one. Every woodworker makes errors and learns from them.
Where can I find more project ideas and plans?
There are many free and paid sources online. Collections like TedsWoodworking, My Shed Plans and Ultimate Small Shop are popular for their large libraries and organized plans. Check what is included and read reviews before purchasing any collection.
The bottom line
Start with a few quality basics, a solid bench and good light, take safety seriously and build simple projects from good plans. Your skills, and your tool collection, will grow naturally from there.
Want this as a handy printable?
The Weekend Woodworker Starter Pack
Build your first projects with confidence. Inside you get:
- The essential tool list (and what to skip)
- 5 beginner projects with cut lists
- A safety checklist for your workspace
100% free. No spam, unsubscribe anytime. Privacy policy.
Disclosure: links marked as sponsored are affiliate links. If you buy through them we may earn a commission at no extra cost to you.
Sources and further reading
This guide is for general information only and is not a substitute for professional advice. See our editorial policy.
Products mentioned in this guide
Affiliate links. Results vary. This is not medical advice.
1 thought on “Want to Start Woodworking at Home? A Plain-English Beginner’s Guide”
Comments are closed.